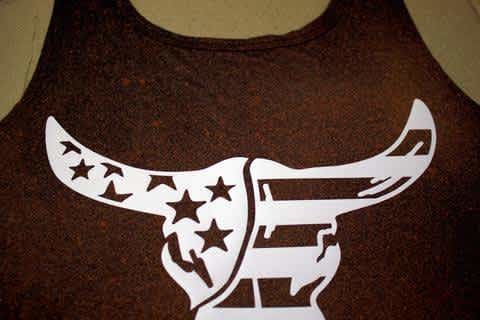
Bleach Shirt
Hey guys and gals, today we're going to show you how to use BLEACH in a creative way! We're creating an AWESOME vintage shirt. This is what you'll need. 
- T-shirt
- Vinyl Design and Transfer Tape
- Cardboard
- Bleach
- Spray Bottle
- Gloves
- Paper Towels
Start with cutting your cardboard about the size of your shirt and put it inside to separate the back from the front. We don't want any bleach to seep through!

Measure your shirt to determine what size you want your design to be and cut it out with your favorite cutting machine. You can use permanent, removable or even stencil vinyl. We used Oramask 811 (Oracal). Weed your design and apply transfer tape. We recommend using a transfer tape that's not too sticky. TIP - we use magic cover tape from Dollar Tree. It's cheap and does a great job!

Apply your design to your shirt, burnish it, and carefully remove the transfer tape. You may have to hold down parts of the design that want to come up with the tape. When you remove the transfer tape press the design down with your fingers once again to make sure it sticks.

Alright - it's time to BLEACH! Put your gloves on and mix 1 part bleach with one part water. If you use 100% bleach it can ruin your fabric. Pour your bleach-water mix into your spray bottle and test it out. You want a fine mist of the bleach spray.


We suggest going outside or wearing a mask for actually spraying the bleach. Get the paper towels ready and dab off the excess bleach immediately after applying the first "coat". Droplets could build on the vinyl and ruin the shirt. Start with spraying one "coat" of the bleach mixture and wait for the bleach to do its job. It can takes several minutes. Apply another "coat" of bleach if you like to achieve the look you want.

Remove the decal and BAM! Put the shirt in cold water to stop the bleaching process. Wash the shirt and enjoy your truly unique masterpiece.


1 comment