


Applying Vinyl to a Curved Surface
Did the chicken or the egg come first? In this tutorial we're going to show you how to put a chicken (rooster) on an egg and avoid those unwanted wrinkles and bulges that often pop up on curved surfaces.
First off - the smaller the design the easier the application! Smaller doesn't always mean good but in this case it does!
Always start with a clean surface. Cut your design, weed it, apply the transfer tape, and burnish it. 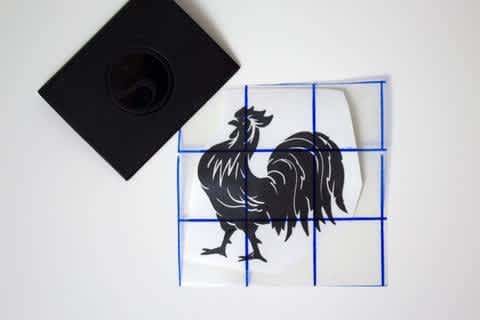
Using scissors cut as close as possible around the design to get rid of excess transfer tape.
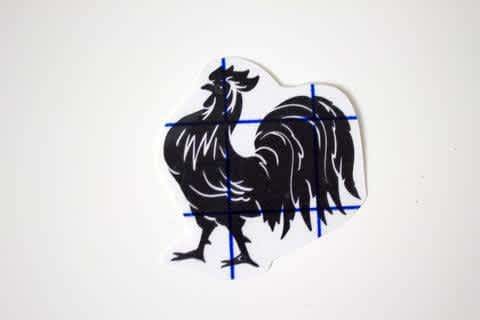
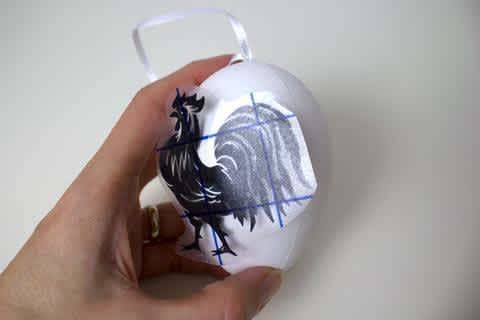
Make small cuts in the transfer tape and vinyl backing sheet wherever you can without cutting the actual design/vinyl. I made cuts between the legs, the head and tail and between the back leg and tail. This will make the design more flexible.
But remember: Don’t cut the actual design!
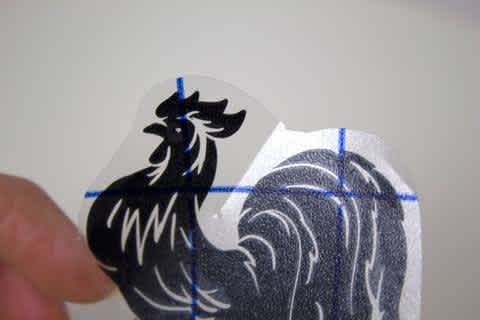
Peel off the carrier sheet and start attaching your design in the center and slowly work your way out to the sides. Always press the middle of the design down first, never start on the side!
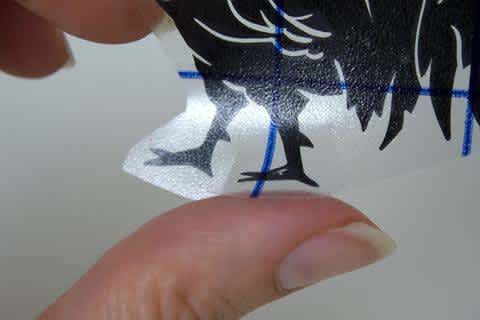
Guide the various parts of the design (like legs, tail, head) in slightly different directions according to the curve to avoid bulges. Remove the transfer paper. When I work with curved surfaces I don't burnish the vinyl before removing the transfer tape. If the vinyl barely sticks to the surface I still have a chance to lift it carefully and remove a bulge that may have formed. When everything looks great, burnish the vinyl.

And there you have it - a chicken (rooster) on an egg.


1 comment