


Create stickers with your Silhouette Cameo
It's super easy and fun to create stickers with your Silhouette Cameo. All you need is a printer, printable sticker paper, and your Silhouette Cameo.
I have some cute sticker templates. Some come with and without white offset. Offset pretty much means that you'll have a small white border around the designs. If you pick the regular version without the offset your Cameo will cut right around the design.
Please make sure you have the latest Silhouette Studio software upgrade installed. The cut lines will appear automatically when you open the png file.
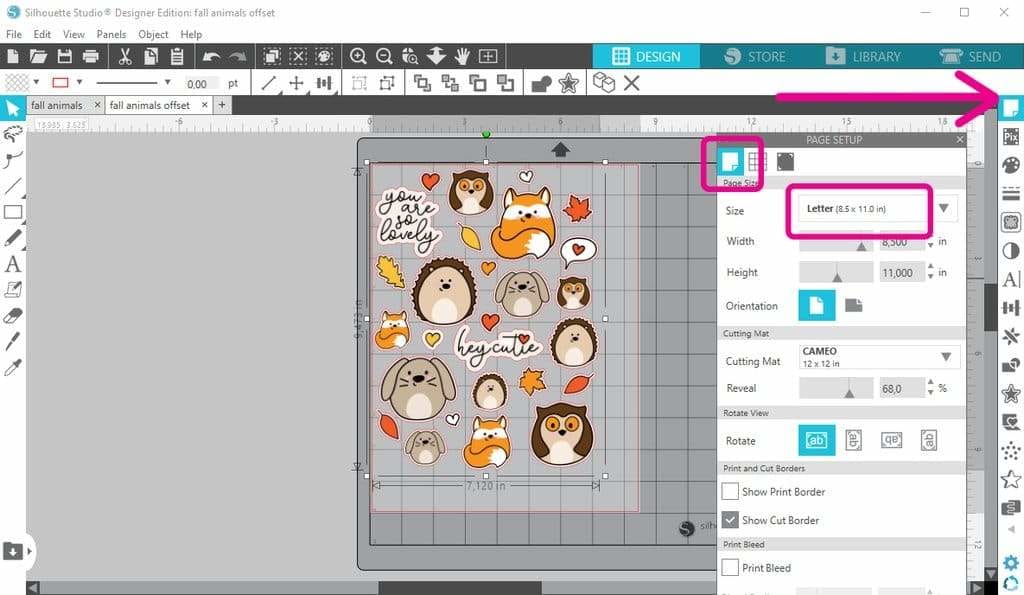
1. Open the png file. Open the “Page Setup” panel and select “Letter”.
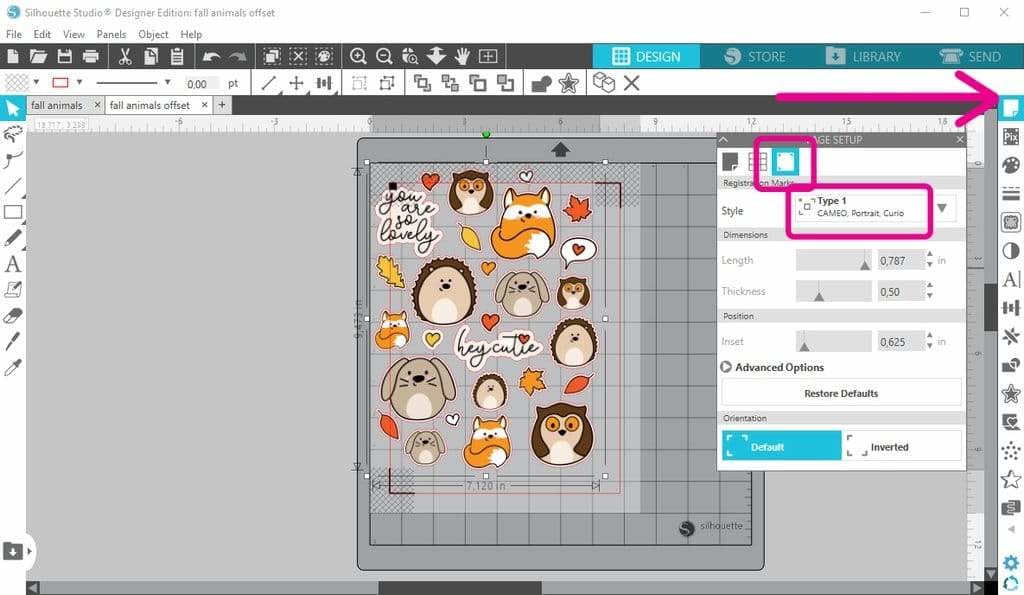
2. In the “Page Setup” panel click on the “Registration Mark” icon and select “Type 1”.
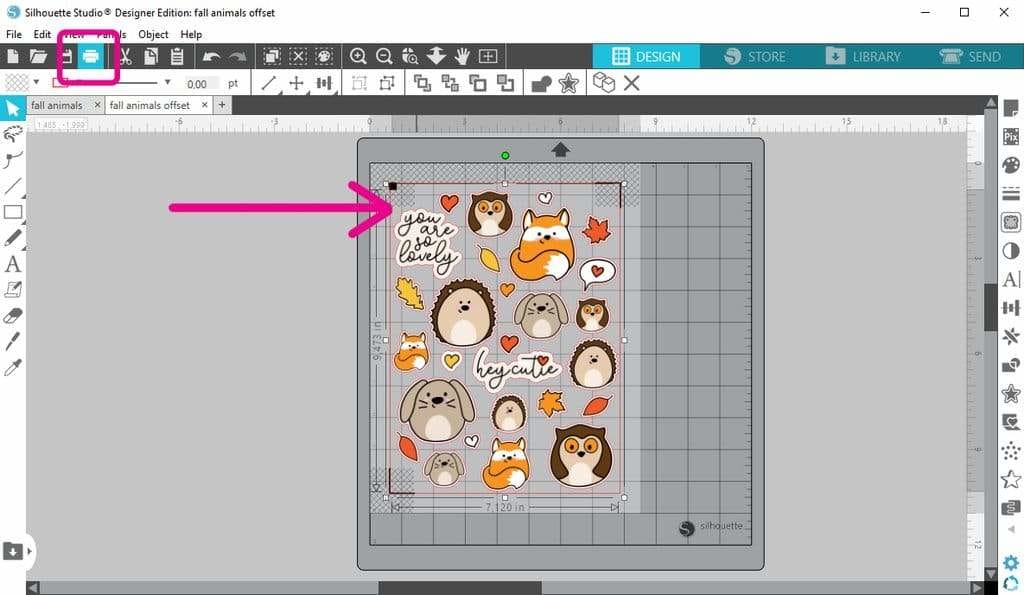
3. Place the design/outline group in the middle of the red rectangle and make sure it does not overlap with the dark grey area or the red rectangle.
Press on the printer icon, select your printer and print the file. Put the printed sticker sheet on your mat (align it with the top left corner) and load the mat into your Cameo.
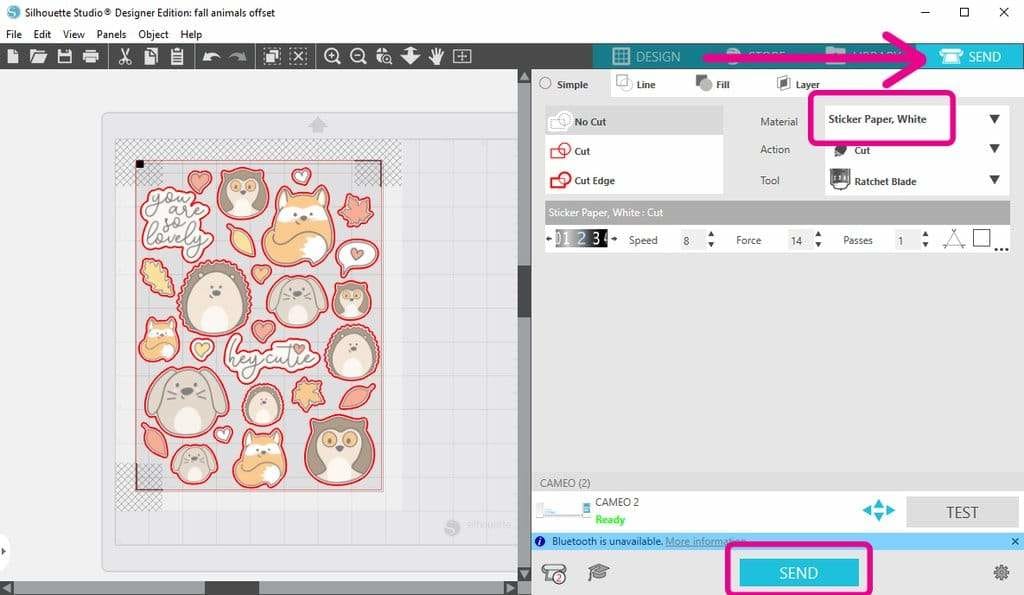
4. Go to "Send" and select "Sticker Paper". Don't make any changes to the cut section on the left, just hit "Send".
Now watch your Cameo do it's magic! If your machine is having trouble reading the registration marks check out this help page on the Silhouette website.
I hope you'll enjoy creating your own stickers!


Add a comment