


Print and Cut Stickers with CRICUT
Stickers are super trendy right now and they are easy to create with your Cricut. All you need is a printer, printable sticker paper and your Cricut.
I have some cute sticker templates that come with and without white offset. Offset pretty much means that you'll have a small white border around the designs. If you pick the regular version without the offset Cricut will cut right around the design.
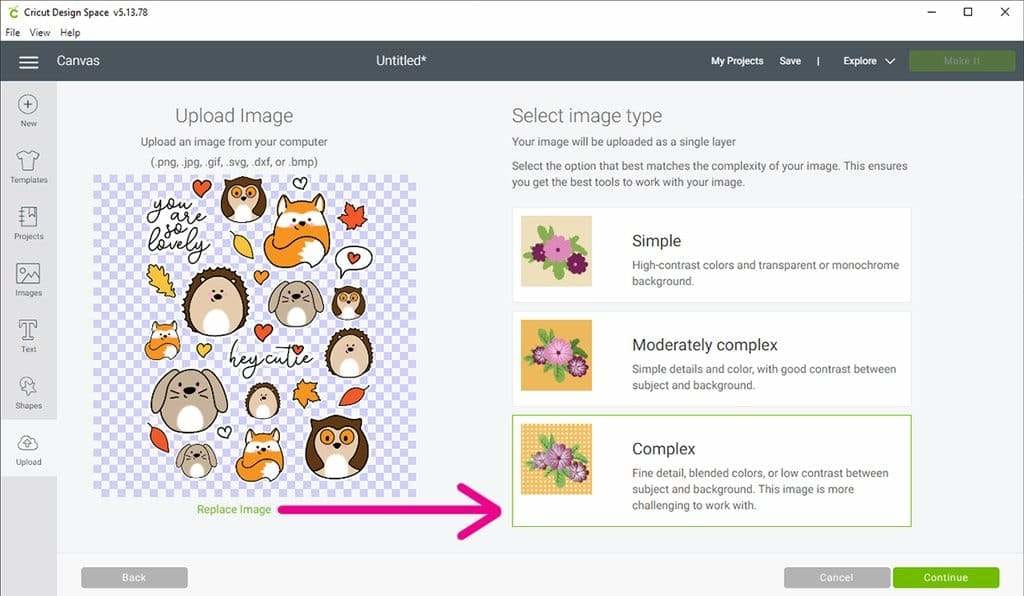
1. Open Cricut Design Space, upload a sticker template, select "Complex", and click "Continue".
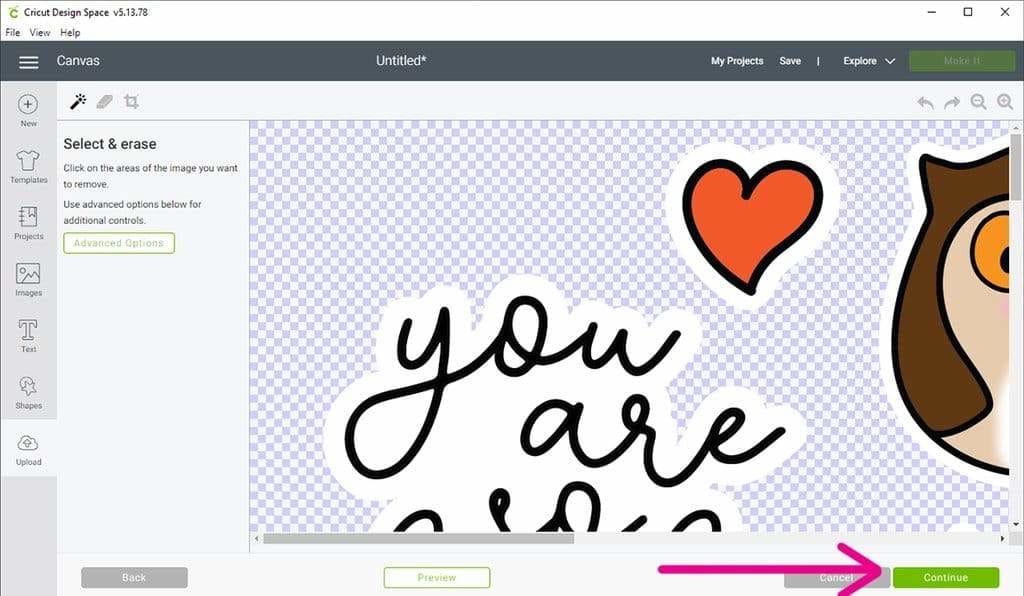
2. You won't have to do anything on the next page, just click "Continue".
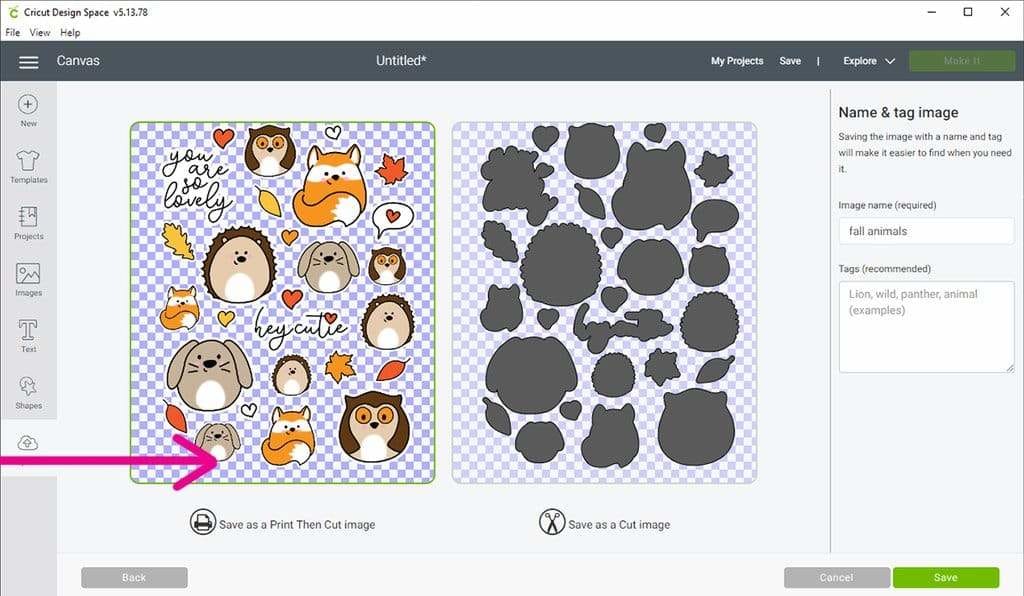
3. Select "Save as a print then cut image" and click "Safe".
4. The design now appears in your "Recently uploaded images". Select it and click "Insert Image".
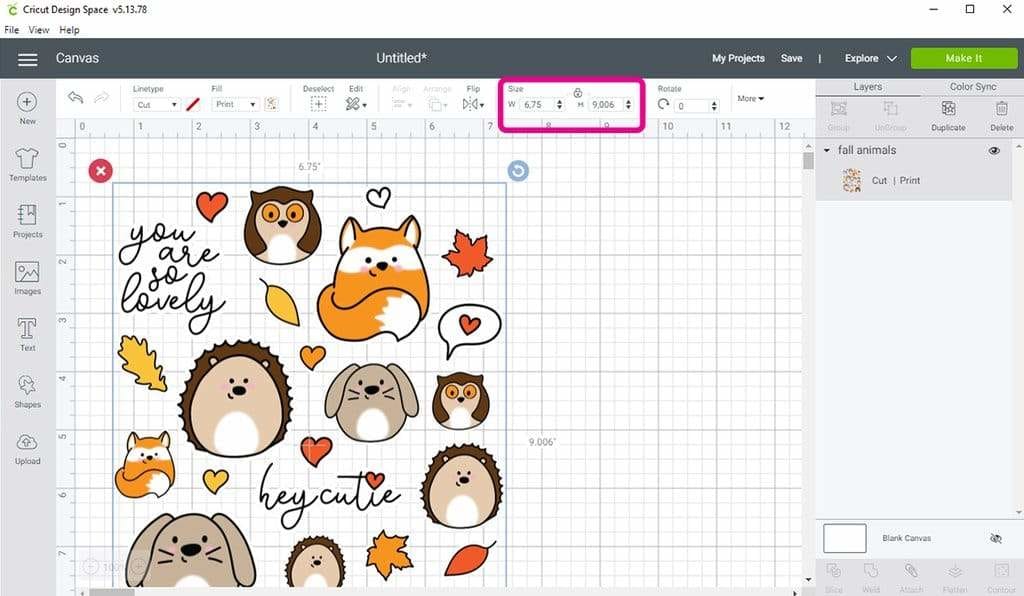
5. Resize the image. Maximum print size for Print Then Cut is 9.25″ x 6.75″.
6. Click on "Make it". Press "Continue" on the next page. This will take you to the print page where you click on "Send to printer". Make sure your printer is selected, turn off "Bleed" and press "Send".
7. Take the printed sticker paper sheet and put it on your mat, aligning it with the top left hand corner. Load it into your machine and go back to Cricut Design Space. Select the material (Sticker paper), use the Fine-Point-Blade and press the blinking button on your Cricut to start the cutting process.
Perfect! That was super easy, wasn't it? Creating stickers with your Cricut is so much fun and you'll love the results.


Add a comment