DIY Resin Crystals with Organza Bags
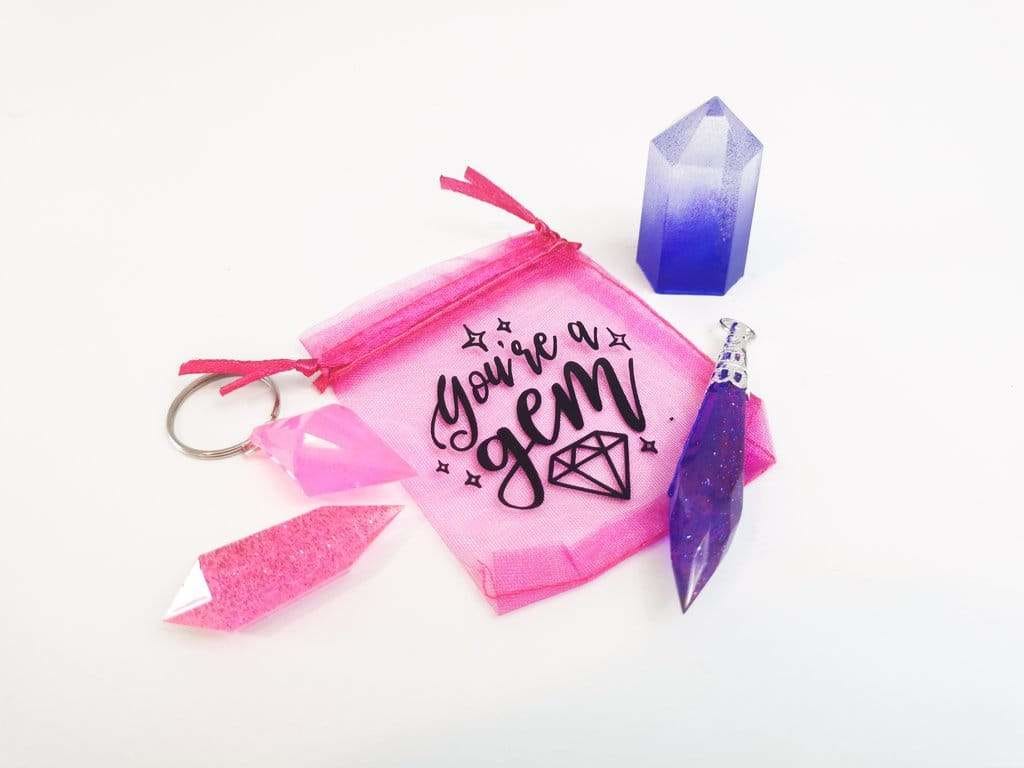
Have you worked with resin before? I've been using epoxy for years and it amazes me every single time! My daughter wanted to make crystals so we gave it a try. It was easy and fun. We've also personalized some jewelry bags so she can gift the crystals to her friends on Valentine's Day.

There are many tutorials and videos on how to make epoxy crystals out there, so I'll just cover the basics. You'll need epoxy resin, epoxy resin colorant, crystal molds and glitter (optional). You should definitely wear gloves to protect your skin when you work with resin. I've never managed not to make a mess. ;-)
Mix the resin and hardener (ratio 1:1) for at least 3 minutes. Pour the mixture in several small containers so you can add a different color to each container. You'll only need a few drops of colorant. You can also add some fine glitter and mix it in well.
Pour the resin in the molds. Use a toothpick to get out any air bubbles that may be trapped in the mold (especially in the tip). Let the resin cure for 24 hours (time may vary) before you remove the crystals from the molds.
While they resin cures you can start working on the bags. We got organza jewelry bags on Amazon. They are inexpensive but you'll need to use a few tricks when you customize them so you won't ruin them.

First things first, measure the bags. Open the You're a gem design in your cutting machine software and resize it to fit your bags. Use Heat Transfer Vinyl and remember that you always need to mirror your design when you cut regular HTV.

Weed the design

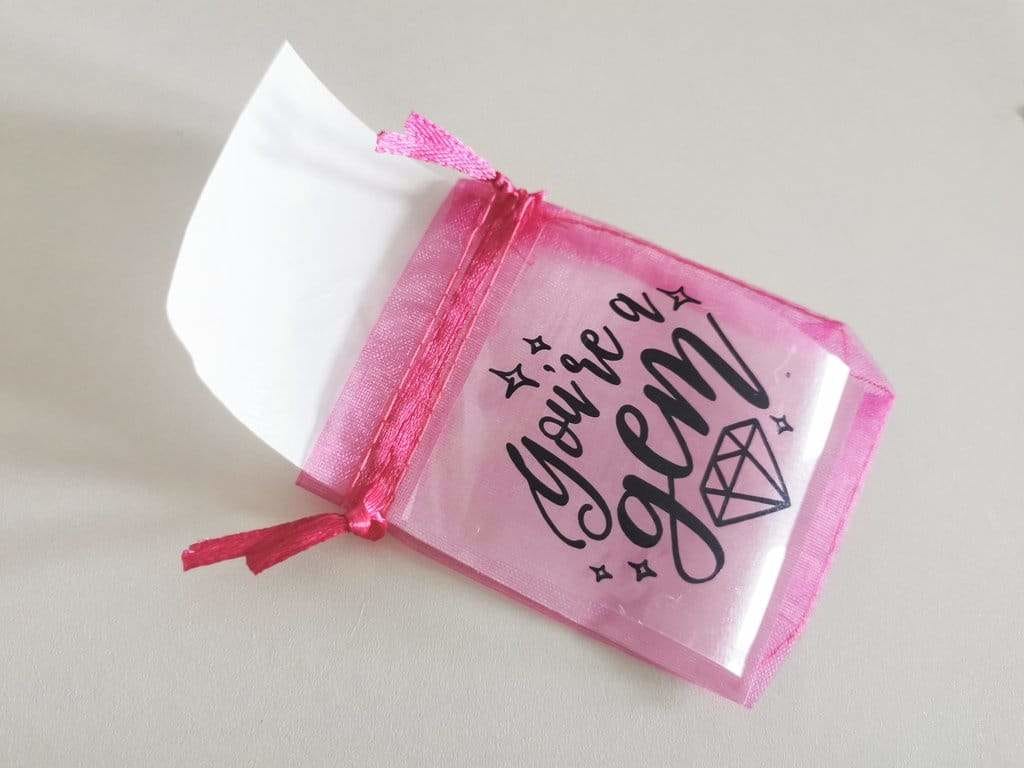
This following step is very important! Get some parchment paper, cut out a rectangle, and place it inside of the bag. It will keep the two sides of the bag from sticking together when you apply heat.

Place your design on the bag and cover it with a Teflon sheet - also very important! Organza bags melt easily when you apply heat. Use an iron and press for 2 seconds. That quick tag is enough to make the HTV stick but it isn't enough to make the bag melt.

Remove the carrier sheet and the parchment paper. You're done!


Add a comment